




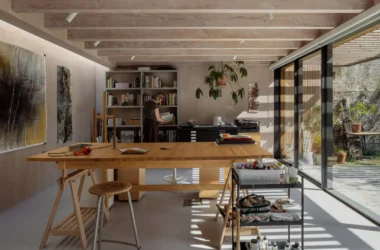

Glass blocks have surged in popularity as a design element, known for their ability to provide privacy while allowing light to filter through. Whether you’re looking to create a stunning feature wall, a unique backsplash, or a stylish room divider, installing glass blocks can enhance your space significantly. However, the installation process can be tricky if you’re not prepared. Here are five essential tips to ensure a smooth and successful installation of glass blocks in your next design project.
1. Plan Your Design Carefully
Before diving into installation, take the time to carefully plan your design. This includes selecting the size, color, and style of the glass blocks you want to use.
- Consider Scale and Proportion: Make sure the size of the blocks is appropriate for your space. Larger blocks can create a bold statement, while smaller blocks may suit more delicate designs.
- Choose the Right Type: Glass blocks come in various textures and colors. Decide whether you want clear blocks for a minimalist look or frosted or colored blocks for added character.
- Sketch Your Layout: Create a detailed sketch of your design. This will help you visualize how the glass blocks will fit into your space and ensure that you have enough materials.
2. Gather the Right Tools and Materials
Having the right tools and materials is crucial for a successful installation. Here’s a list of what you’ll need:
- Tools: You’ll need a level, trowel, measuring tape, rubber mallet, and a mixing paddle for the mortar. Safety goggles and gloves are also recommended.
- Materials: Choose high-quality glass blocks, mortar specifically designed for glass blocks, spacers, and a sealing compound. Ensure that your mortar is suitable for wet areas if you’re installing blocks in a bathroom or kitchen.
- Support Structures: Depending on your design, you may need additional support structures, like metal framing, especially for larger installations.
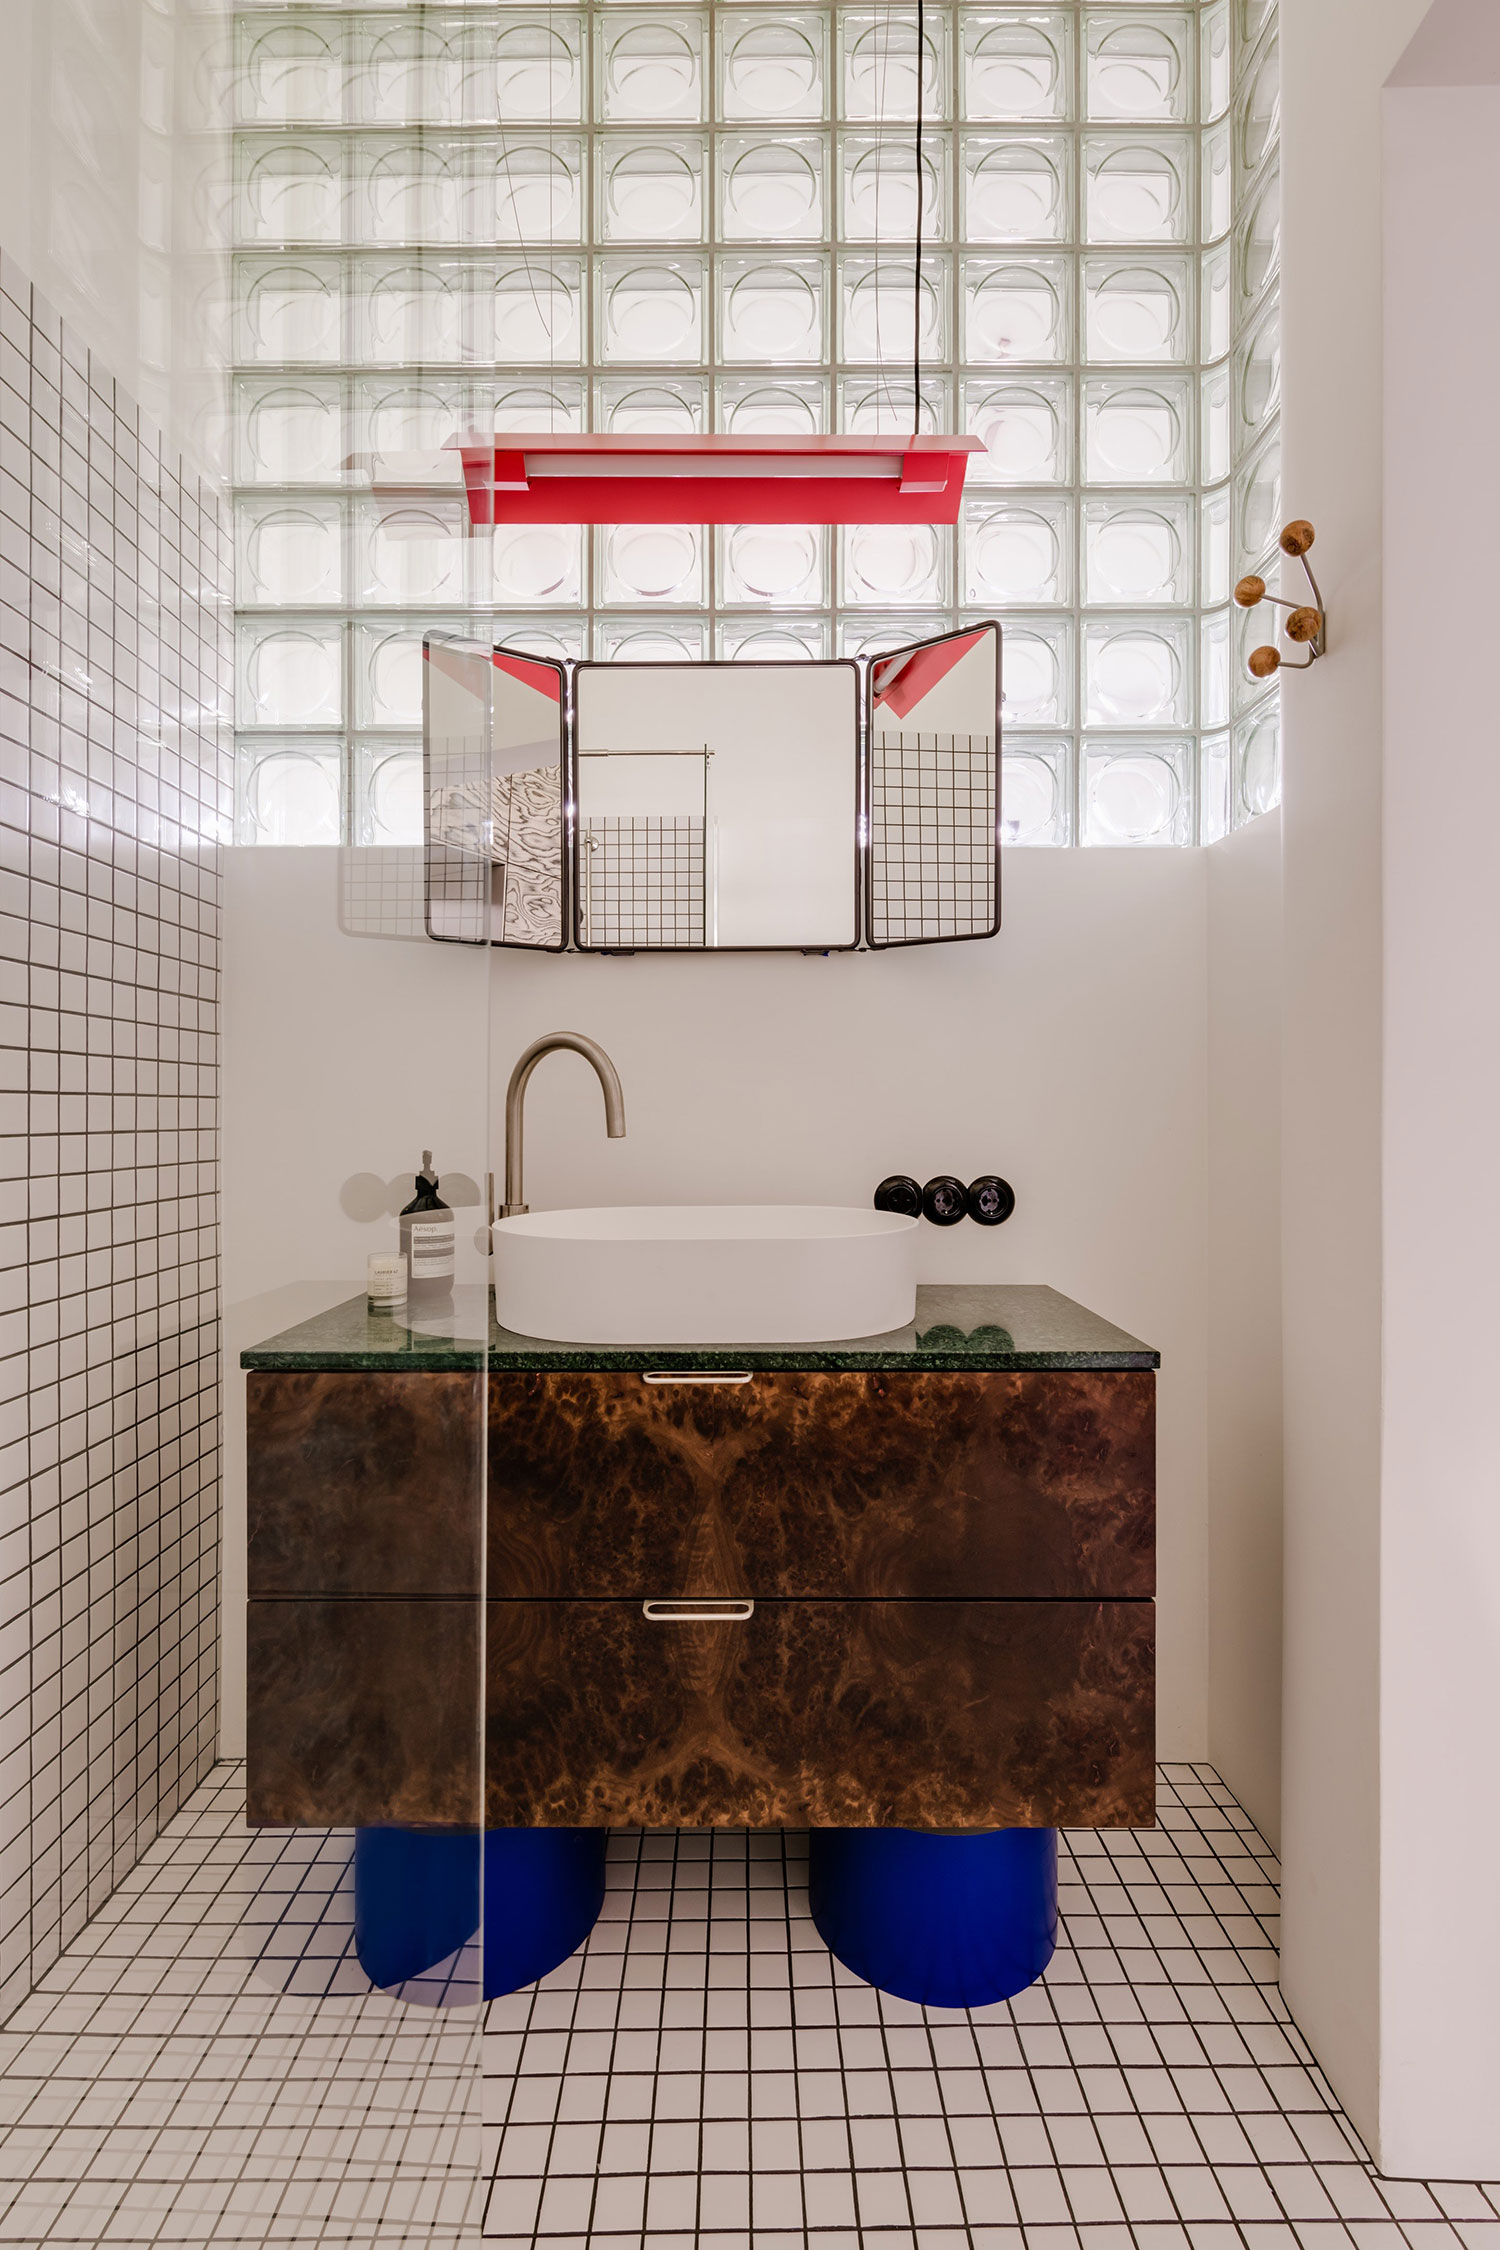
3. Prepare the Installation Area
A well-prepared installation area is key to a successful outcome. Here are some steps to ensure your workspace is ready:
- Clean the Surface: Remove any dust, dirt, or debris from the area where you’ll be installing the glass blocks. A clean surface ensures better adhesion.
- Check for Levelness: Use a level to check that the surface is even. If it isn’t, you may need to adjust it before proceeding, as any imperfections can affect the alignment of your blocks.
- Layout the Blocks: Before applying mortar, lay out the blocks in the desired pattern without adhesive. This dry run will help you make any necessary adjustments before the final installation.
4. Install with Precision
When it’s time to install, precision is crucial. Here’s how to do it effectively:
- Apply Mortar Evenly: Using a trowel, apply an even layer of mortar to the surface and the sides of the glass blocks. Ensure you follow the manufacturer’s instructions for the best results.
- Use Spacers: Place spacers between the blocks to maintain consistent gaps. This will help in achieving a uniform look and ensure proper mortar application.
- Check Alignment Regularly: As you install each block, use a level to check that they are straight and aligned. Adjust them as necessary before the mortar sets, as it can be difficult to correct misalignments later.
5. Finishing Touches and Sealing
Once the installation is complete, focus on the finishing touches to enhance both the appearance and longevity of your glass block installation.
- Remove Excess Mortar: Before the mortar sets, use a damp sponge to clean any excess mortar from the surface of the glass blocks. This will help maintain a clean look.
- Seal the Joints: After the mortar has fully cured, apply a sealant to the joints between the blocks. This adds a waterproof barrier, which is especially important in areas prone to moisture, like bathrooms and kitchens.
- Consider Lighting: Once your installation is complete, think about how lighting can enhance the glass blocks. Backlighting or strategically placed fixtures can create a stunning effect, showcasing the beauty of the glass.
Conclusion
Installing glass blocks in your design project can elevate the aesthetic of your space while providing practical benefits like privacy and light diffusion. By planning your design carefully, gathering the right tools, preparing your installation area, and executing with precision, you can achieve a stunning result. With these five tips, you’ll be well on your way to a successful glass block installation that transforms your home into a stylish and inviting environment.