


Photography as a craft is very dependent on the quality of the equipment used to create the final product. Of course, your skill and ideas play as big of a role, however, the same photograph taken with two different cameras can yield completely different end results. It is particularly true when speaking of portrait or object photography, taken within the confines of one’s own studio or apartment.
In such cases, the quality of your photos does not only depend on your skill and the camera you own but also how you manipulate the environment in order to get the best lighting, color schemes in order to really bring out the best in your subject and achieve the effect you’re aiming for.
Try also to read a blog about managing large e-commerce photo studios for more information on your project.
Large, professional studios are obviously the best examples of how photographers’ surroundings impact the final result of their work. Naturally, they are extremely expensive, and not many amateurs and hobbyists can afford to make that kind of investment. Even the most experienced, professional photographers often lease space and equipment.
Not all hope is lost, though. Even as a complete newbie who has only recently enrolled in a couple of beginner photography courses, you can set up your own home studio at very little cost, provided you’ve got the space for it. Continue reading to find out how to get started at creating your home photography studio and what exactly you’re going to need to complete the job. You can’t buy all lenses and expensive gears for your studio. Instead, you can rent your photography gears from a trusted source.
Space
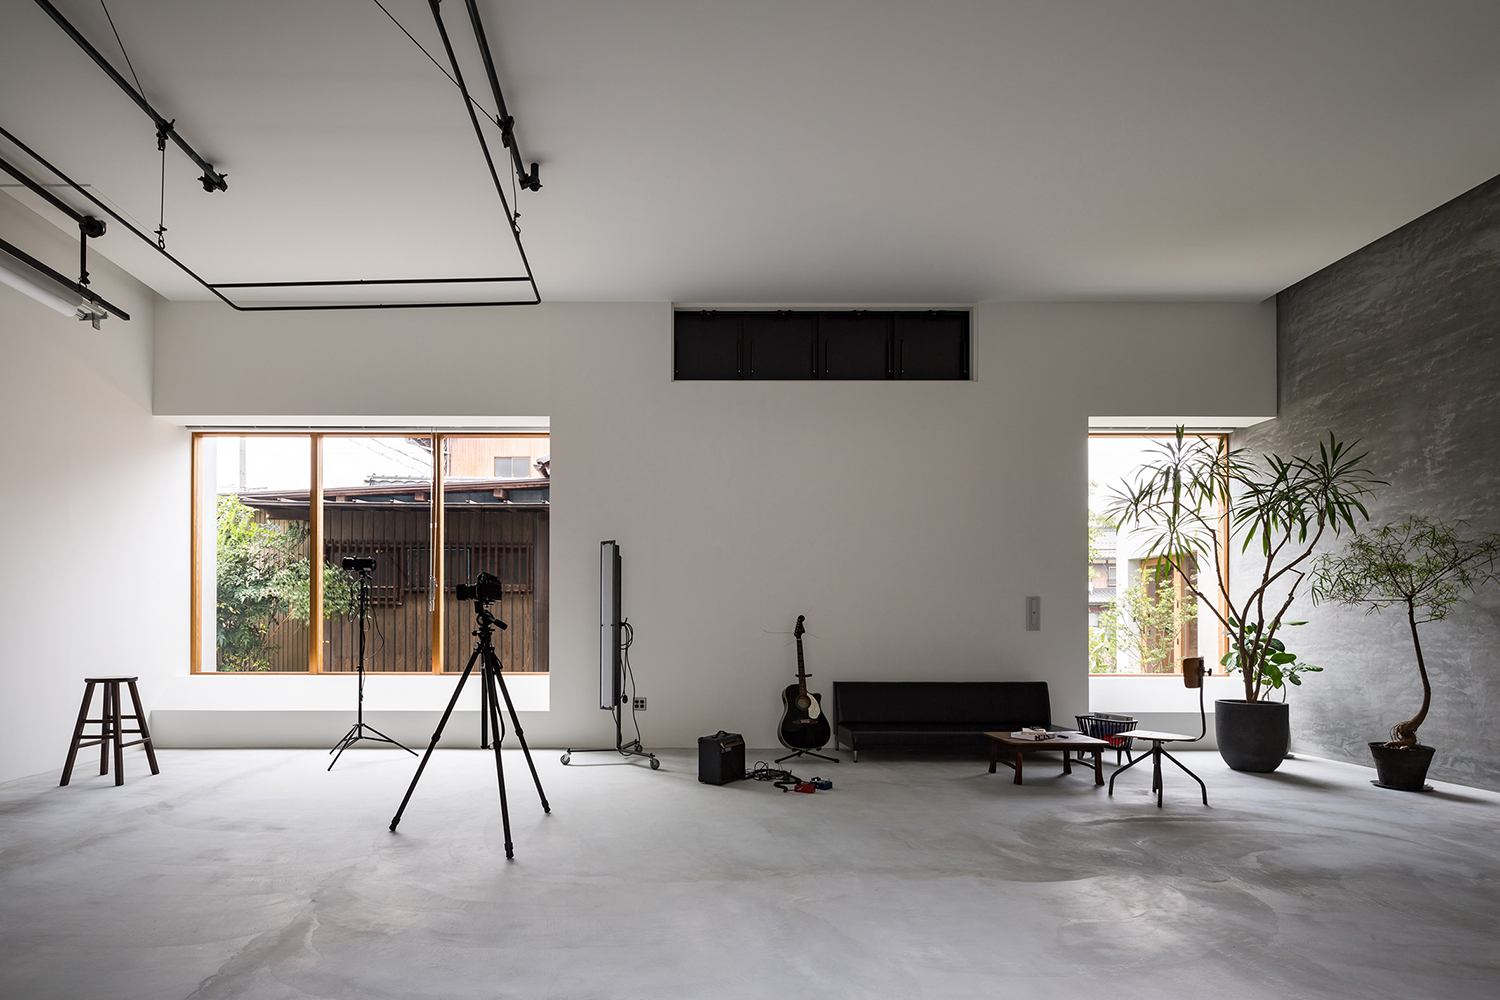
This is the first and foremost step in building any space with a particular purpose in mind. Photography studios are no different. You need to have a spacious room at your disposal to even begin thinking about setting up a studio. Its size is dependent on your particular photography niche and interests.
For example, if you’re into taking pictures of people, regardless of whether they are portraits or nude acts, you should probably opt for a bigger space – the setup, lights, and reflectors will take up a lot of room – and you still need time to maneuver. On the other hand, if your photos do not require much space and your main interest is still life photography, product photography, or the like, a smaller space might suffice.
This doesn’t take into account a dark room – if your hobby is analog photography, and you want to experiment with the full range of darkroom possibilities, then you need even more space. You can either designate a corner of your studio to be your darkroom, surround it with blackout fabric and create a completely separate space, or sacrifice an extra bathroom to the gods of photography. We’ve seen dedicated photographers set up a darkroom in their ONLY bathroom – everything is possible.
Lighting and backdrops
A crucial part of your studio project is collecting all the extra goodies you need – like backdrops, reflectors, lights, and the like. It is also probably the most expensive aspect of the entire process, not to mention never-ending. There are always new and exciting gadgets and accessories to try out here. Of course, you can find all of this used! But even then, it might cost a pretty penny.
The good news is that you can save some dough on the backdrops. Although many photography blogs and equipment companies will try their best to convince you to get their product, and the glossy catalogs call out to you, the truth is that even regular bedsheets can do a great job imitating a green screen or simply a white background. You’ve got to remember about ironing them well, though!
The lighting and background requirements vary depending on your primary photographic interests. Once again, still life will require much less equipment than nude acts or fashion shoots. Whereas one, simple lamp suffices for smaller projects (you could even get away with a regular desk light), bigger ideas will demand bigger expenditures — the most basic studio in which you could effectively shoot beautiful photos of people or groups of other, large subjects, should usually come equipped with at least three professional lamps and two walls covered in editable backgrounds.

Technical know-how
Although it may not seem like it, building a photography studio at home takes a lot of tinkering, and working with tools to get everything done correctly. Assembling the lamps and making sure that enough electricity is available to accommodate all necessary equipment might prove to be very tricky if you are a complete rookie.
It might be a good idea to educate yourself on handiwork and the technical skills required to assemble a studio all by yourself. The lamps might be easy to plug in, but in order to get a full range of setup possibilities, some carpentry might be required.
Passion for photography
Although there is much, much more to building a good home photography studio, you should seriously consider why you’re thinking of creating one in the first place. It is an expensive and time-consuming undertaking and if you’re not absolutely certain about your love for photography, maybe it is a sign that you should reconsider abandoning the studio project and invest your funds in something else.
Photography is an art, and as such, it requires a lot of sacrifice and in-depth knowledge of the artist in order to yield positive effects. If you are a total beginner, go out there and try to build up a portfolio consisting of outdoor and naturally lit pictures. After some time, as you get more experienced and knowledgeable about taking photos, you should have an idea as to whether you want to pursue it further, or not. If you build a studio on a whim, there will be no way for you to get all of your money back if you decide that you’re not all that passionate about photography after all.